It's been a few days since we announced the release of our receipts cleaning products in partnership with Briochin. To accompany the use of these products and always in an eco-responsible approach, we found it interesting to suggest that you make your own sponge. It's still more fun than buying these in supermarkets, right?
Moreover and you know it we like to share you in our articles tips forUpcycling to express your creativity and occupy your afternoons.
This new tutorial proposal is incredibly simple. To find out how to make your Tawashi sponge , it's here! Let's go ?
The Tawashi sponge, what is it?
This term originated in Japan . Over there, this denomination designates all types of sponges. But in the rest of the world, the Tawashi has become an ecological sponge with the aim of reusing materials to do your dishes and your cleaning in a more sustainable way. You can therefore use it with any type of household product and any type of surface.
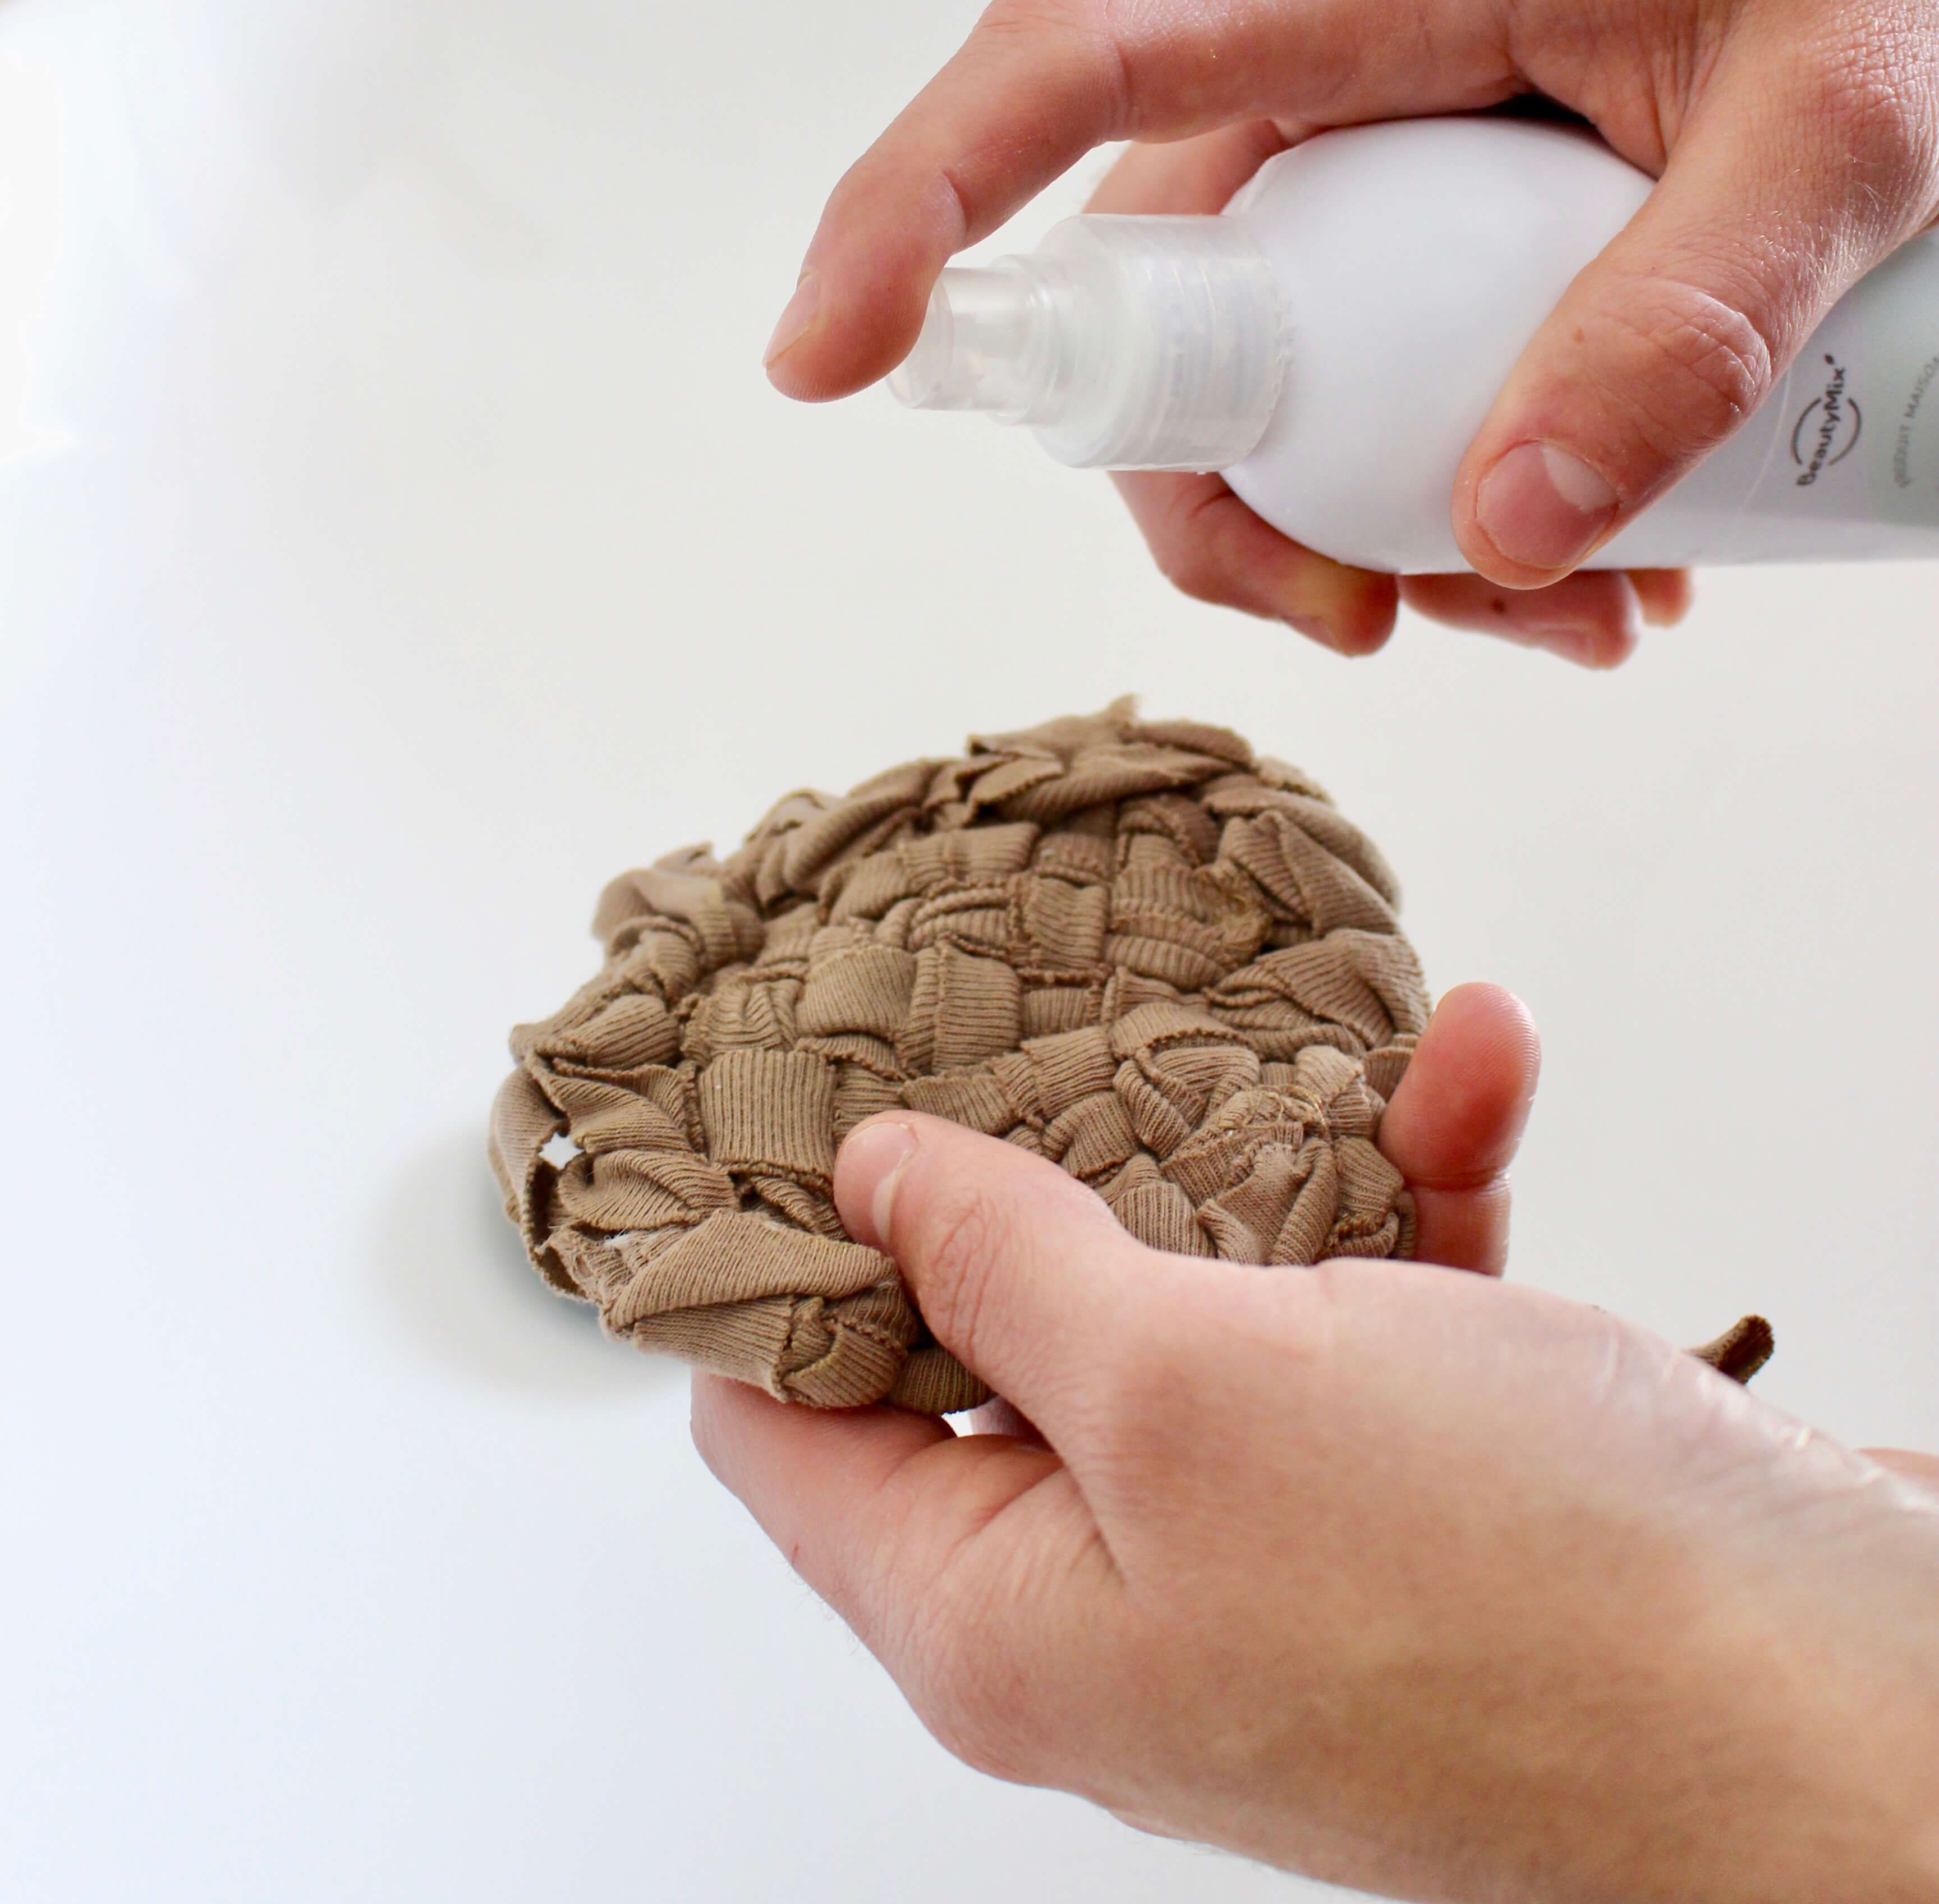
This sponge is initially woven with a crochet, and made from cotton or acrylic threads. In some cases, it is easily sufficient on its own, and some people use it without product. But combining it with a cleaning product is also possible and strongly recommended to ensure effective cleaning.
Now many tutorials are available to make it by recycling old cotton clothes, socks, tights ... The choice is vast! We are truly on a zero-waste process.
Its advantage ? It cleans gently, without scratching your furniture or dishes. Once tested, you won't be without it!
How to make your Tawashi sponge?
First, let's talk about the supplies you will need. You will need :
About twenty wooden picks (here, twenty-eight)
From a wooden plank
of a rule
With a grease pencil
With a hammer
With a pair of scissors
Fabric of your choice (here we used a t-shirt)
The steps of the tutorial
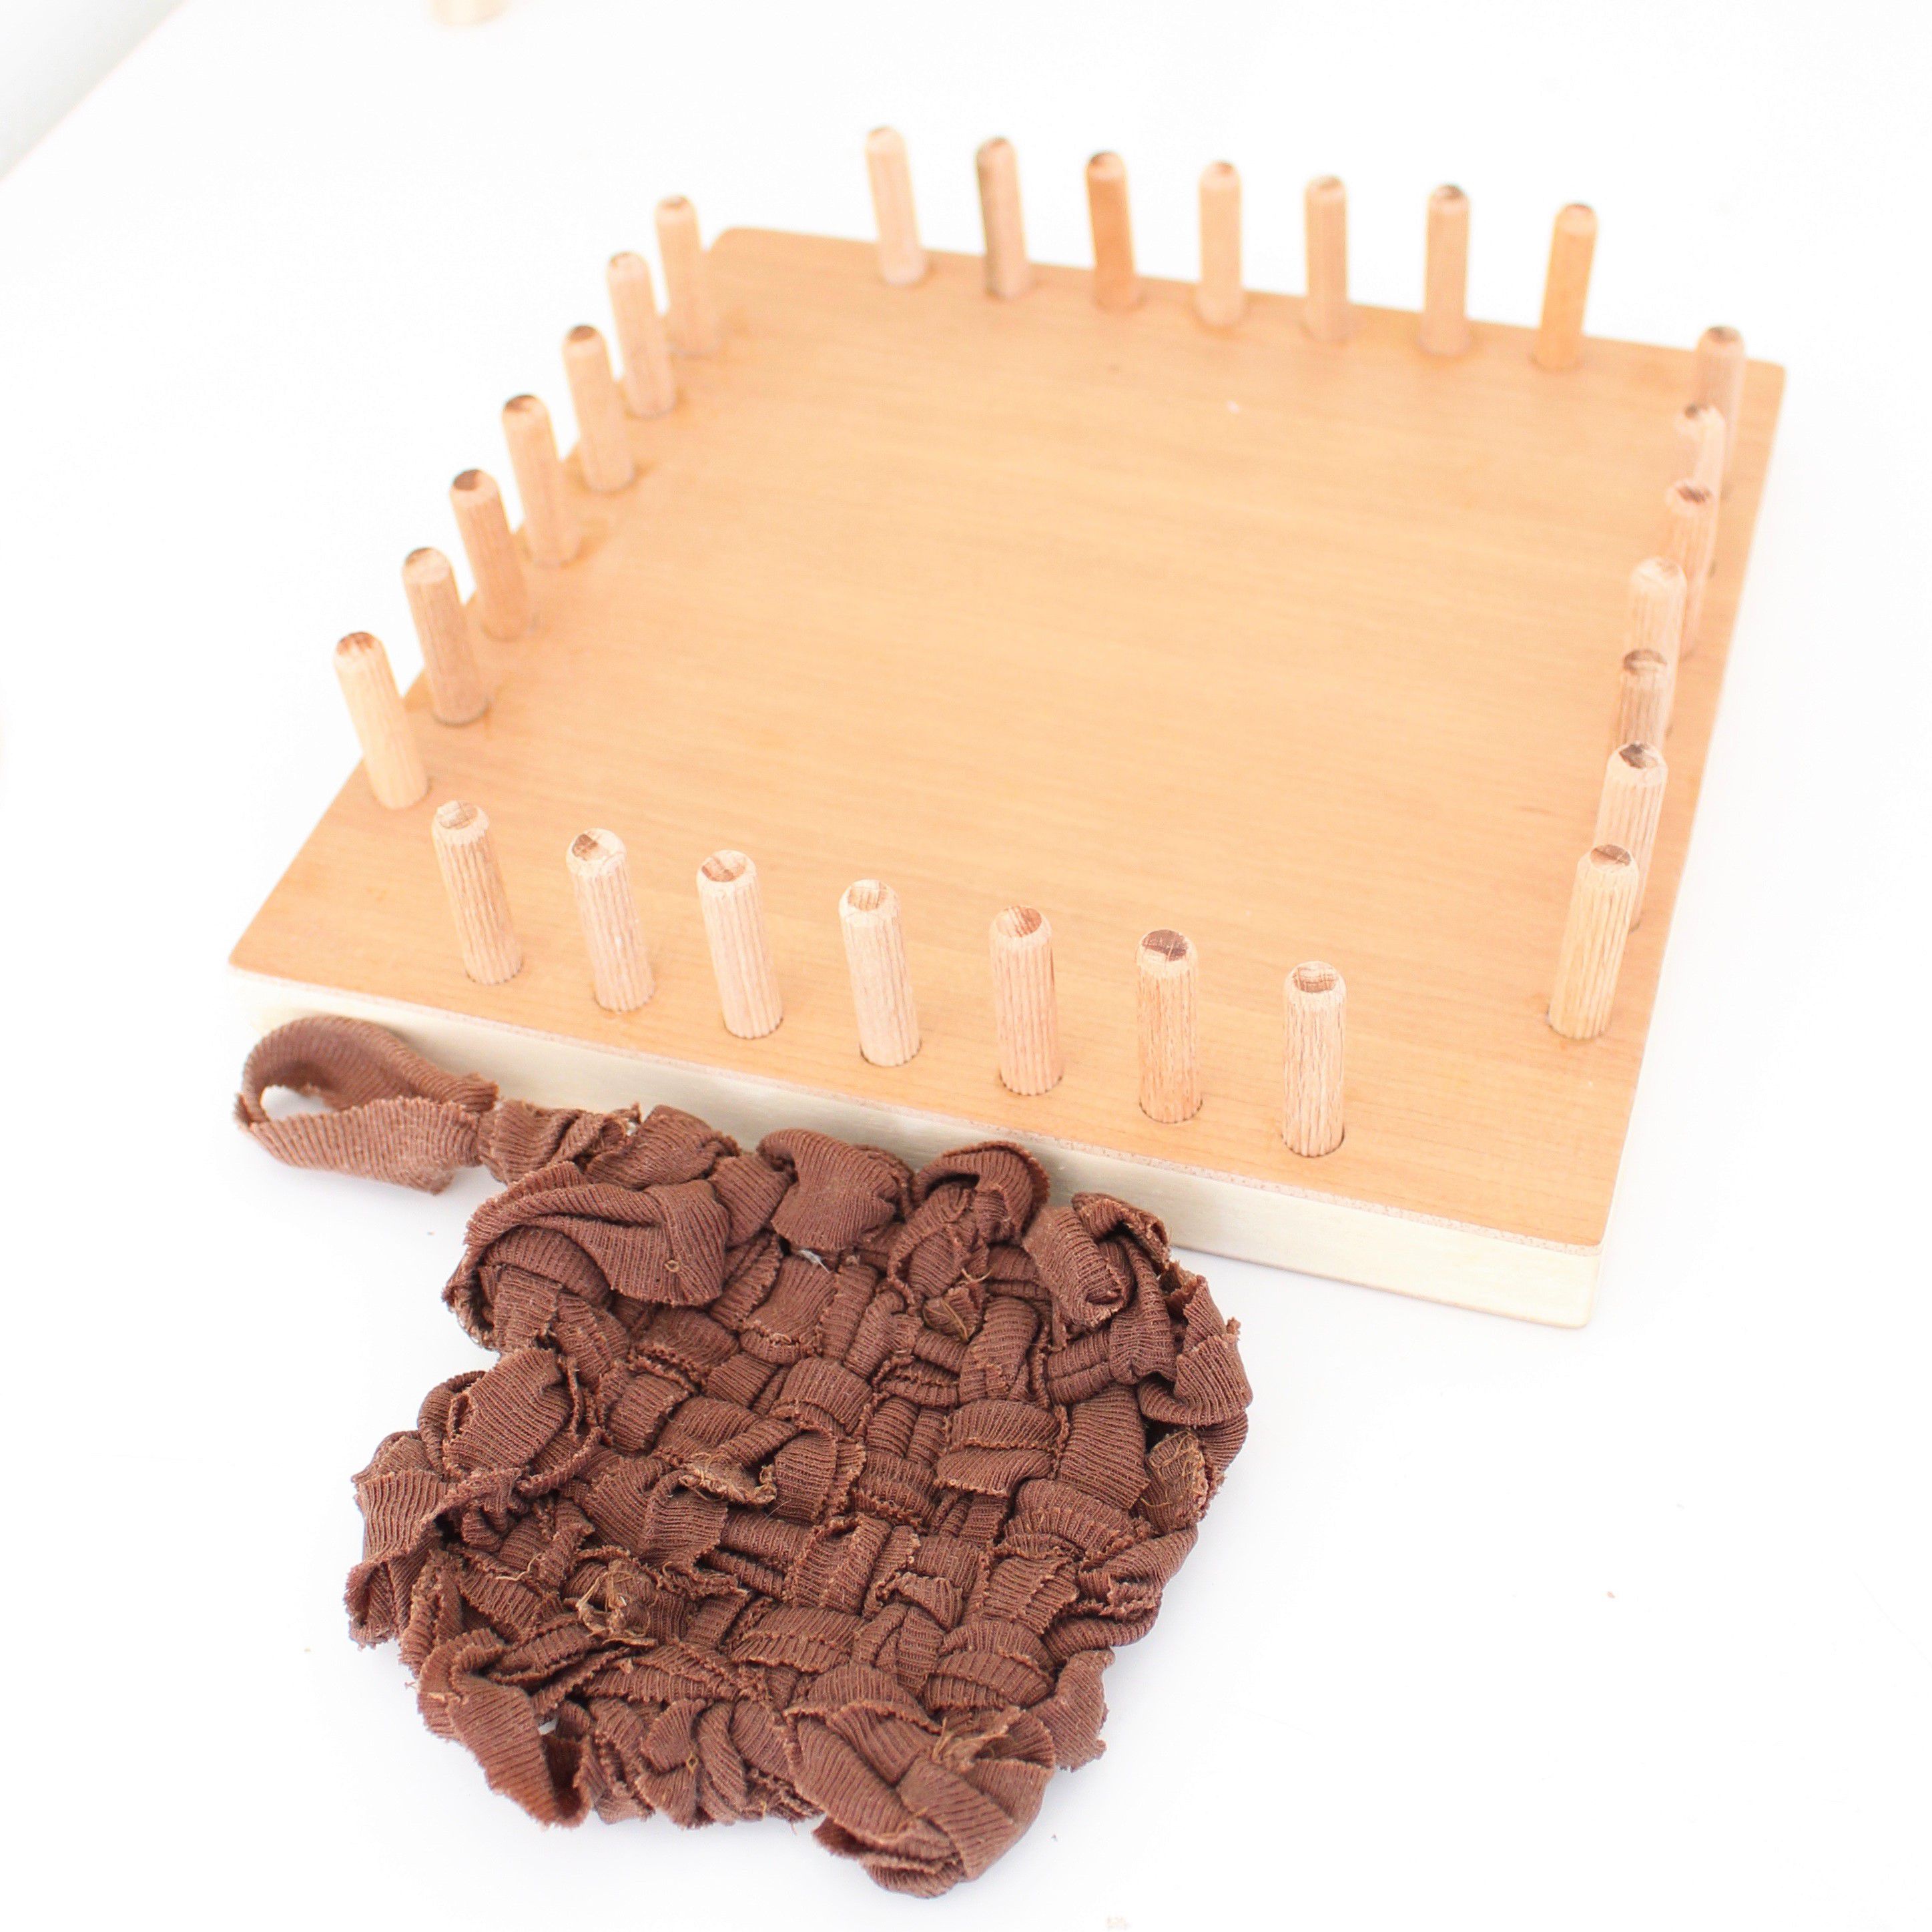
Step one : Lay your board flat and write a mark every two centimeters using your pencil.
Step two : Once the reference points have been indicated, plant your wooden spikes using a small hammer. You should get even rows of seven picks per side. The corners of the square should remain empty.
Step three : Take your fabric and cut thin strips. It will make you about fourteen strips of the height corresponding to the size of your board.
Little trick : Use several clothes of different colors to color your sponge.
Step four : Thread the first seven strips of fabric on the horizontal rows.
Step five : Rotate your board to do the same for the other seven strips and the vertical rows.
Step six : Once the strips are braided together, untie the loop from the end of one strip on one side. Thread the end of the second strip through the loop of the first. Repeat the operation until you go around your board.
Rest assured ! To guide you step by step and since images are generally more telling, we have made the video tutorial for you, right here: